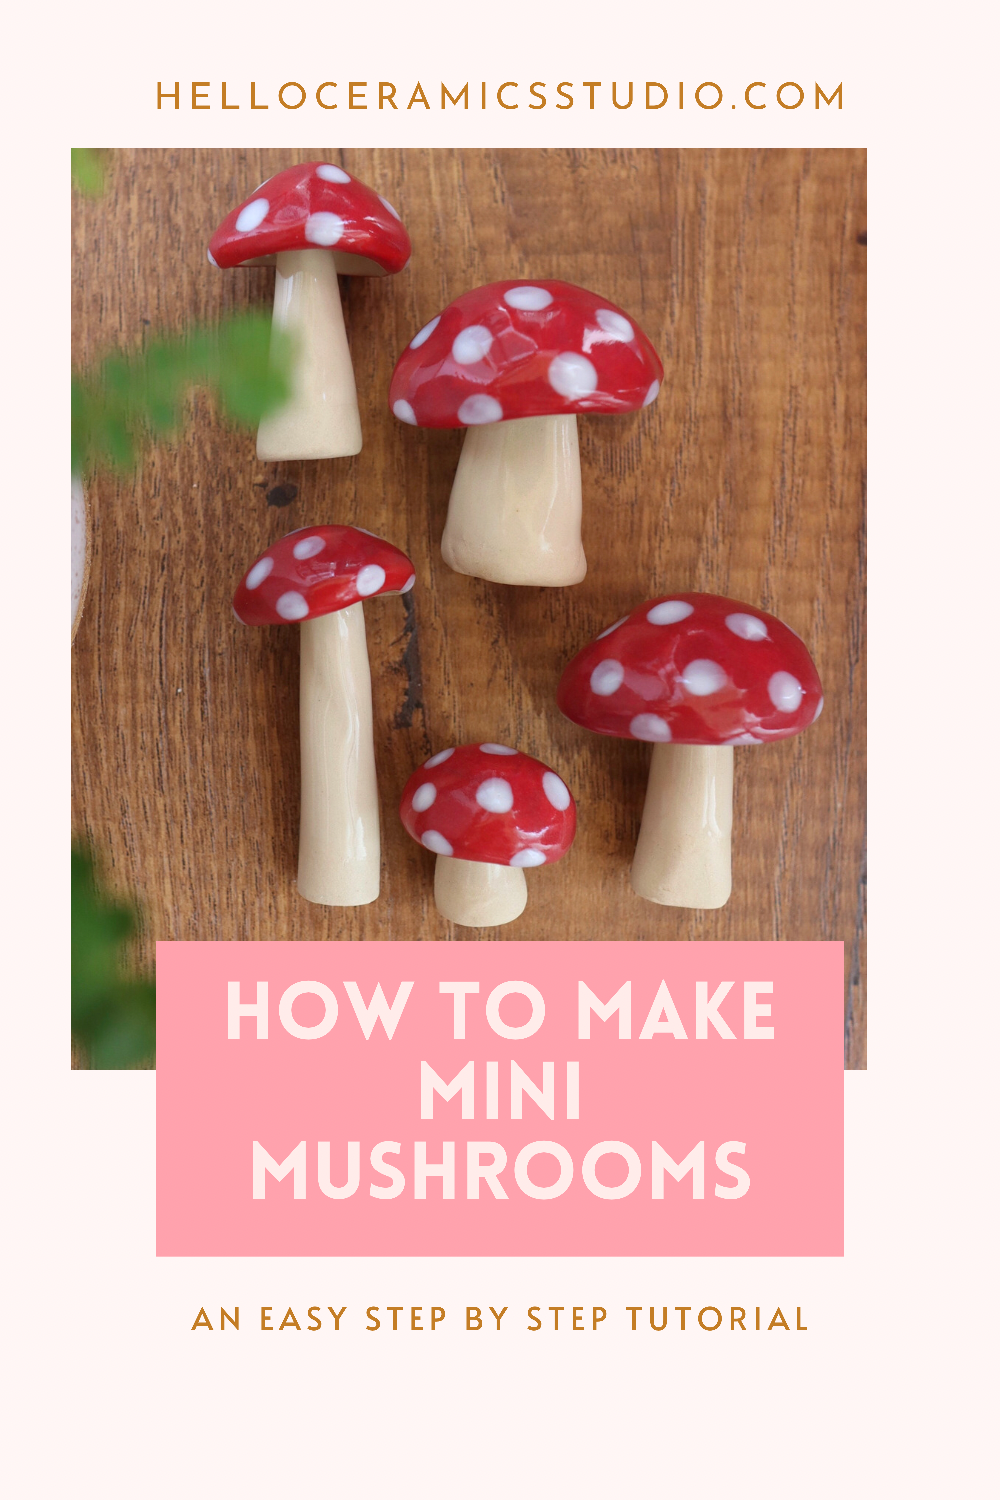
How to Make a Ceramic Mushroom
This is such an easy ceramics project!
I love this project, especially for beginners, because it uses 3 basic ceramics techniques: pinch, coil, and slip and score to make your mushroom. Add underglazes, and boom! So cute!
Check out this 30 second video of the process here:
Here’s how to make them:
First, take two pieces of clay (I used B Mix for the mushrooms pictured). Use the “pinch” technique to make a small bowl, and the “coil” technique to make a small rolled piece of clay. These two pieces will be the mushroom top and the stem.
Pinch technique to make mushroom top
Rolled coil for stem
Cut the top and bottom off of the coil to make the stem. It’s best if one side of the coil is slightly large than the other. The larger end should be the bottom of the stem. Turn the stem vertical and give it a couple taps. This will help make the stem a little sturdier, and will flatted the bottom so it stands on its own. Adjust the stem shape by hand if needed.
Cut ends off of coil to create stem.
Place the mushroom top on the stem and see how it looks. Does the stem need to be shorter in order for it to stand? Does the top need to be bigger, smaller or trimmed? The nice thing is that mushrooms are organic, and come in many different sizes and shapes, so don’t stress over making it perfect- each one is unique!
Place top on stem to see how it looks. Adjust as needed.
Once you are happy with your stem and top, it’s time to attach them. You will want to allow the two pieces to dry slightly so they are able to hold their shape. The stem should be able to support the top at this point.
Use a witches broom to slip and score the top and stem together. Allow to dry until clay is stiff and holding shape, but not dried out. Give it a couple more taps against your work table to stabilize it, and secure your attachment.
Use a scoring tool to slip and score your stem and top together.
Use a small brush and a little water to clean out the excess slip from underneath the mushroom top, where the stem and top were attached. (I love this 1/2 Lunar Blender brush for cleaning ceramics.) You may also want to use a soft sponge and a dab of water to clean up any cracks or marks on the top and stem.
Use a stiff brush to clean out excess slip.
Using a needle tool, carve out texture lines under mushroom top. If the lines are not being carved cleanly, it could mean your clay is still too wet. Allow the clay to dry and try again later. If the clay is chipping when applying pressure with the needle tool, the clay is too dry.
Draw parallel lines coming from top of stem out to the edges of the mushroom top.
Note: I like to place the mushrooms on their sides until they are fully fired. It is very easy for them to fall over in the greenware/bone dry state and break :(
Now that the mushroom is dry, it’s time to apply underglaze. I used Amaco Velvet Underglazes in Red and White. You could make them in any color you like! Apply the underglaze with a brush to the top of the mushroom. Use 3 coats for even coverage.
Add 3 thin coats of underglaze to bone dry mushroom.
Red underglaze is applied, and ready for white dots.
Once the underglaze is dry, use the handle of a brush or an applicator to add the white dots.
Now your mushroom is ready to be bisque fired!
After the bisque firing, apply a clear glaze. I use Amaco Zinc Free Clear. I do not glaze the bottom of the mushroom-I leave it bare for the glaze firing. Fire the mushrooms standing up.
Once the kiln has cooled, pull out the mushrooms and add them to a plant or put them on a shelf! They are perfect for a terrarium or fairy garden.
Note: because the mushrooms can be top-heavy, you can add a glue dot to the bottom to stabilize them if you’re placing them on a shelf or somewhere where they could get knocked over easily.
Quick Overview:
Make a small pinch pot for mushroom top, and a coil for the stem. Cut coil to desired length.
Slip and score top and stem together. Clean with a brush and sponge.
Allow to fully dry, then add 3 coats of red underglaze followed by white dots to top of mushroom.
Bisque fire.
Glaze with Zinc Free Clear, do not glaze bottom.
Potential Issues:
If the white dots of underglaze are applied too thick they can crack.
Mushrooms may fall over at any point and break because they are top heavy. Lay them down after they are bone dry and apply a glue dot to bottom if you plan to display your mushroom, rather than put it in a plant.
If you are using a clay that has some color to it, you will also want to apply the white underglaze to the stem and under the top.
Supplies:
-Clay (I used B-Mix)
-Scoring Tool (aka Witch’s Broom)
-Stiff Brush for Cleaning (1/2 Lunar Blender)
-Amaco Velvet Underglazes in Red and White
-Dot applicator or Brush
I hope you have found this post helpful! Please tag me on Instagram @helloceramicsstudio or send me a message with a pic of your ceramic mushrooms! Happy creating!
This post contains affiliate links, I may receive a small commission of sales from the links on this page at no extra cost to you.


