Spoon Making Supplies
It’s finally here! I’ve rounded up all the supplies I use to make spoons and put them right here, in one place, just for you. I hope you find this list is helpful for your own spoon making process.
These are the supplies I use from the merchants I personally purchase them from. Thank you for supporting me at Hello Ceramics Studio, I appreciate it greatly.
Clay
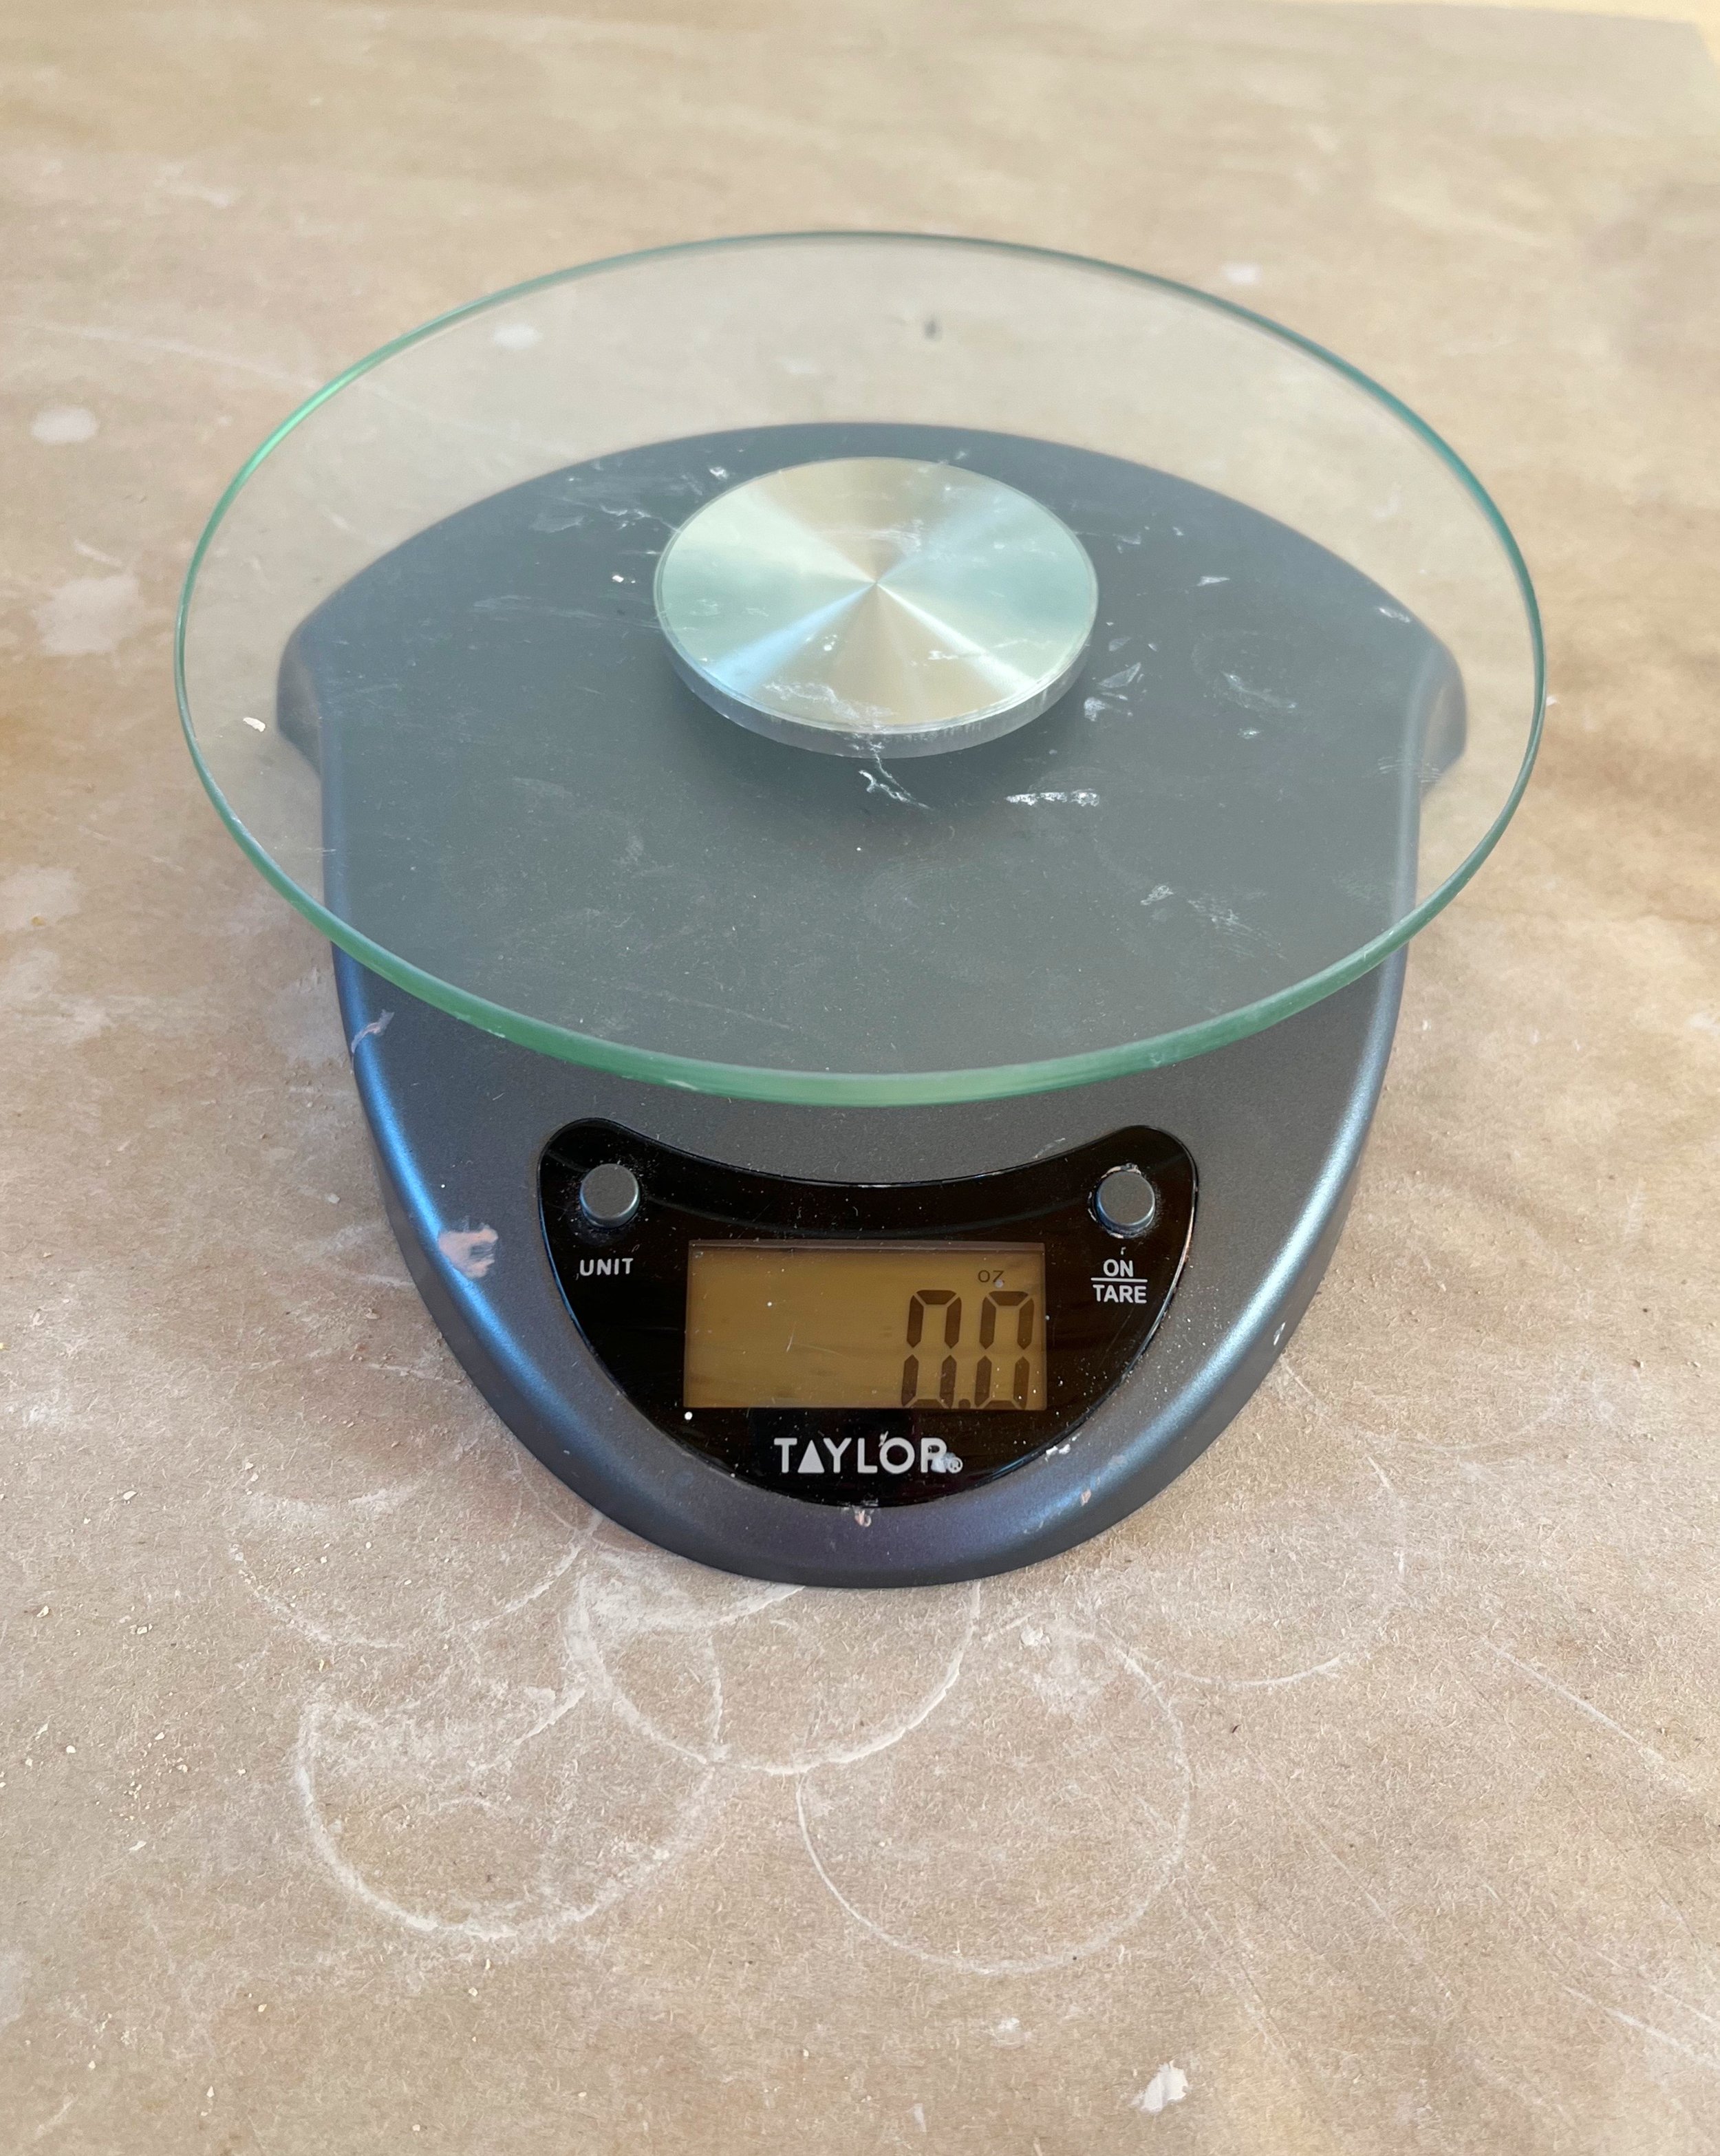
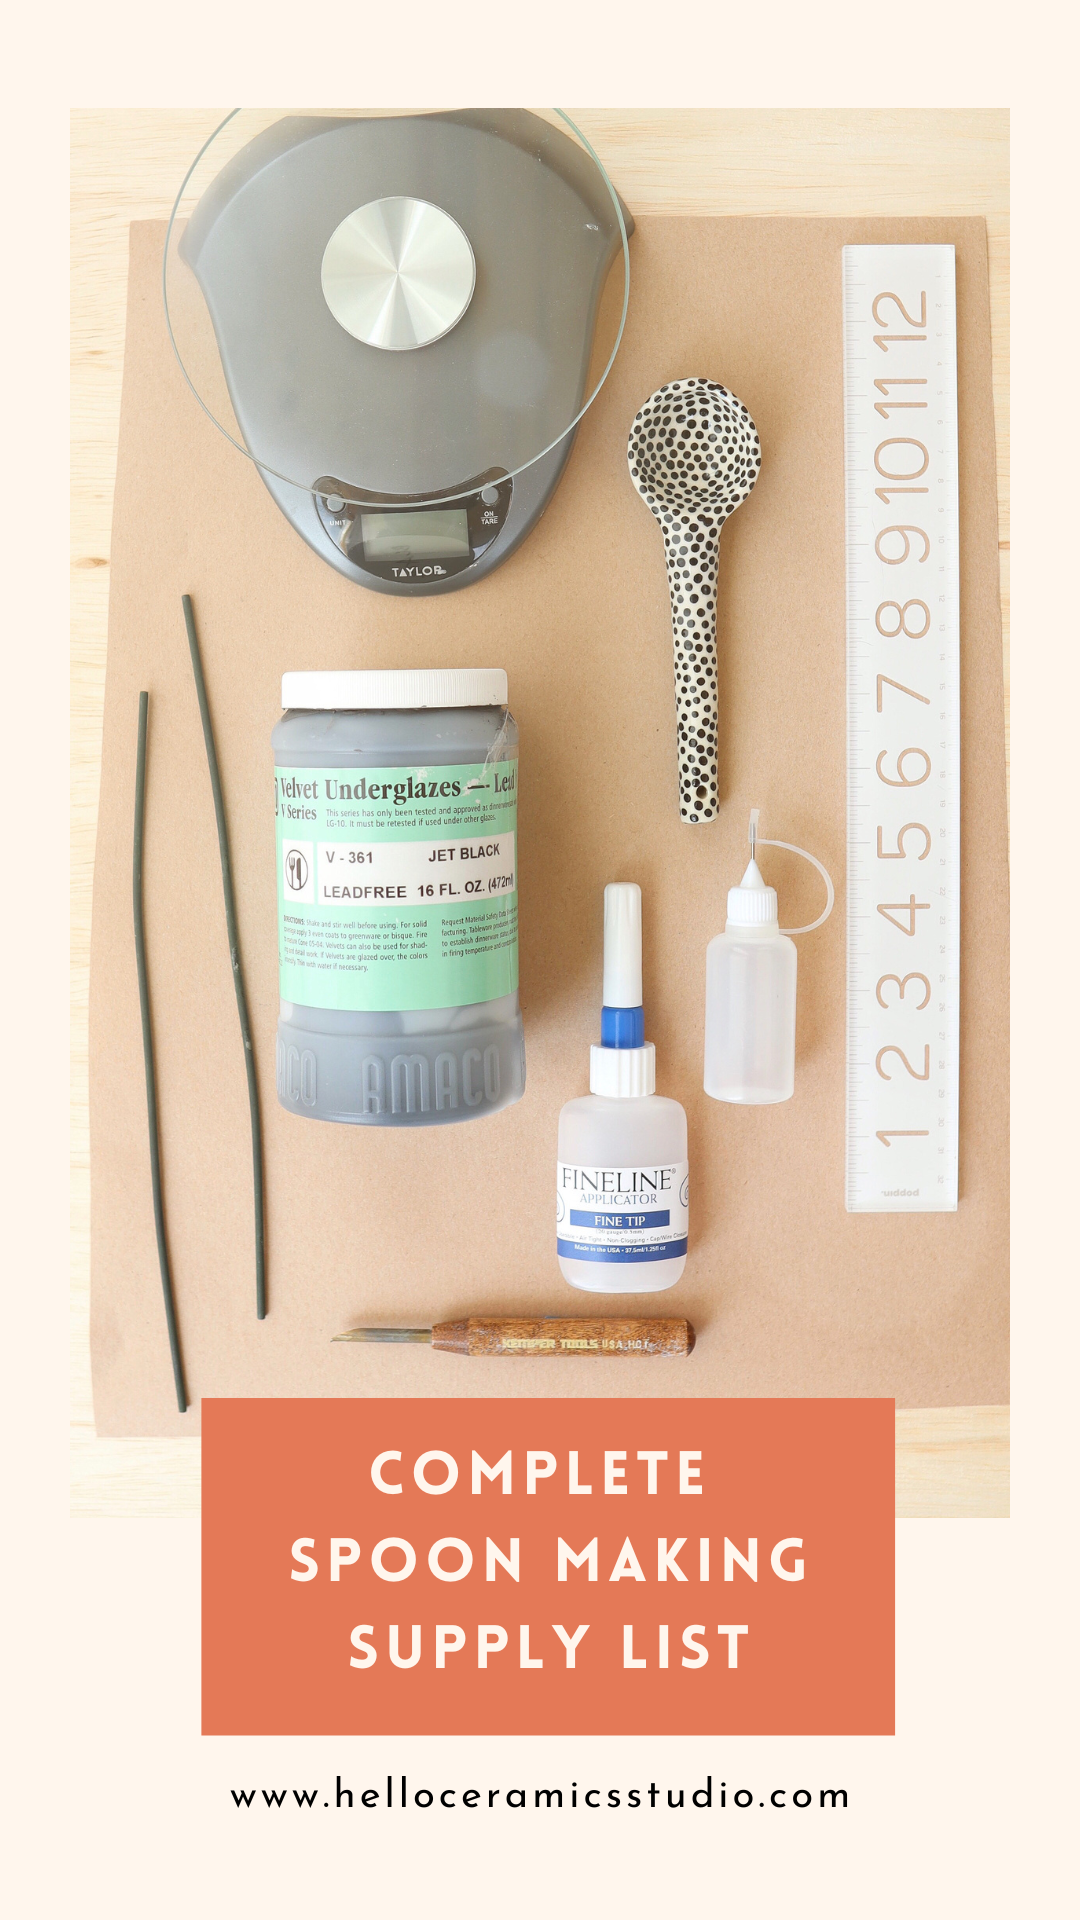
If you want your spoons to be consistent in size, you will need to weigh out the clay before you start shaping it into a spoon. I use a similar small scale for spoons, as well as for balls of clay for throwing pots, AND to weigh the packages that I send out to customers. It’s a must have, definitely one of the most used tools in my studio.
Ruler
I love this ruler and use it to measure the length of the spoons (again, making sure they’re consistent in size). I like it because it’s thick, sturdy, waterproof and wipes off easily. Another frequently used tool.
Builders Paper
I use builders paper as a surface to roll out my spoons because it does not leave a texture on the clay like canvas will. This paper is thick and reusable so you will get several uses out of it before recycling it. It’s also great if you’re using more than one clay body in your studio-just use a piece for each clay type and you won’t have to worry about contaminating your clay with another clay body. This paper is excellent as a drying surface as well, wet clay does not stick to it.
Amaco Velvet Underglazes
Amaco underglazes are my personal favorite. Did you know you can mix them to create custom colors? I primarily use Jet Black but I also love:
-ivory beige
-teddy bear brown
-blush
-deep yellow
-terra cotta
-white
I apply the Velvet Underglazes when the spoons are bone dry (greenware) See blog post on how to apply here.
Squeeze Bottle Applicator
I use Fineline applicators because they have a handy wire inside the cap that prevents the tip from getting clogged with dried underglaze. They flow smoothly and are great for drawing details onto your work. They come in two sizes, 18 and 20 gauge. I prefer the 20.
For larger dots, I use the handle of the brush to apply the underglaze (see my instagram reel here for more on this).
Hole Punch
If you’re planning to hang your spoons when firing, I recommend using a clay punch to make holes in your handles. The punch also works great for making holes in ornaments, charms and holes in the bottom of your pots.
Zinc Free Clear Glaze
I use porcelain clay that fires white so I usually only apply colored underglazes to my spoons then finish them with a clear glaze. I use Amaco Zinc Free Clear to give the spoon shine, and strength as well as make it waterproof and food safe. I have never had an issue with the underglaze colors running with this glaze.
Remember: I apply the underglaze to the spoons before they have been bisque fired. After bisque firing, I apply the ZFC glaze and fire again.
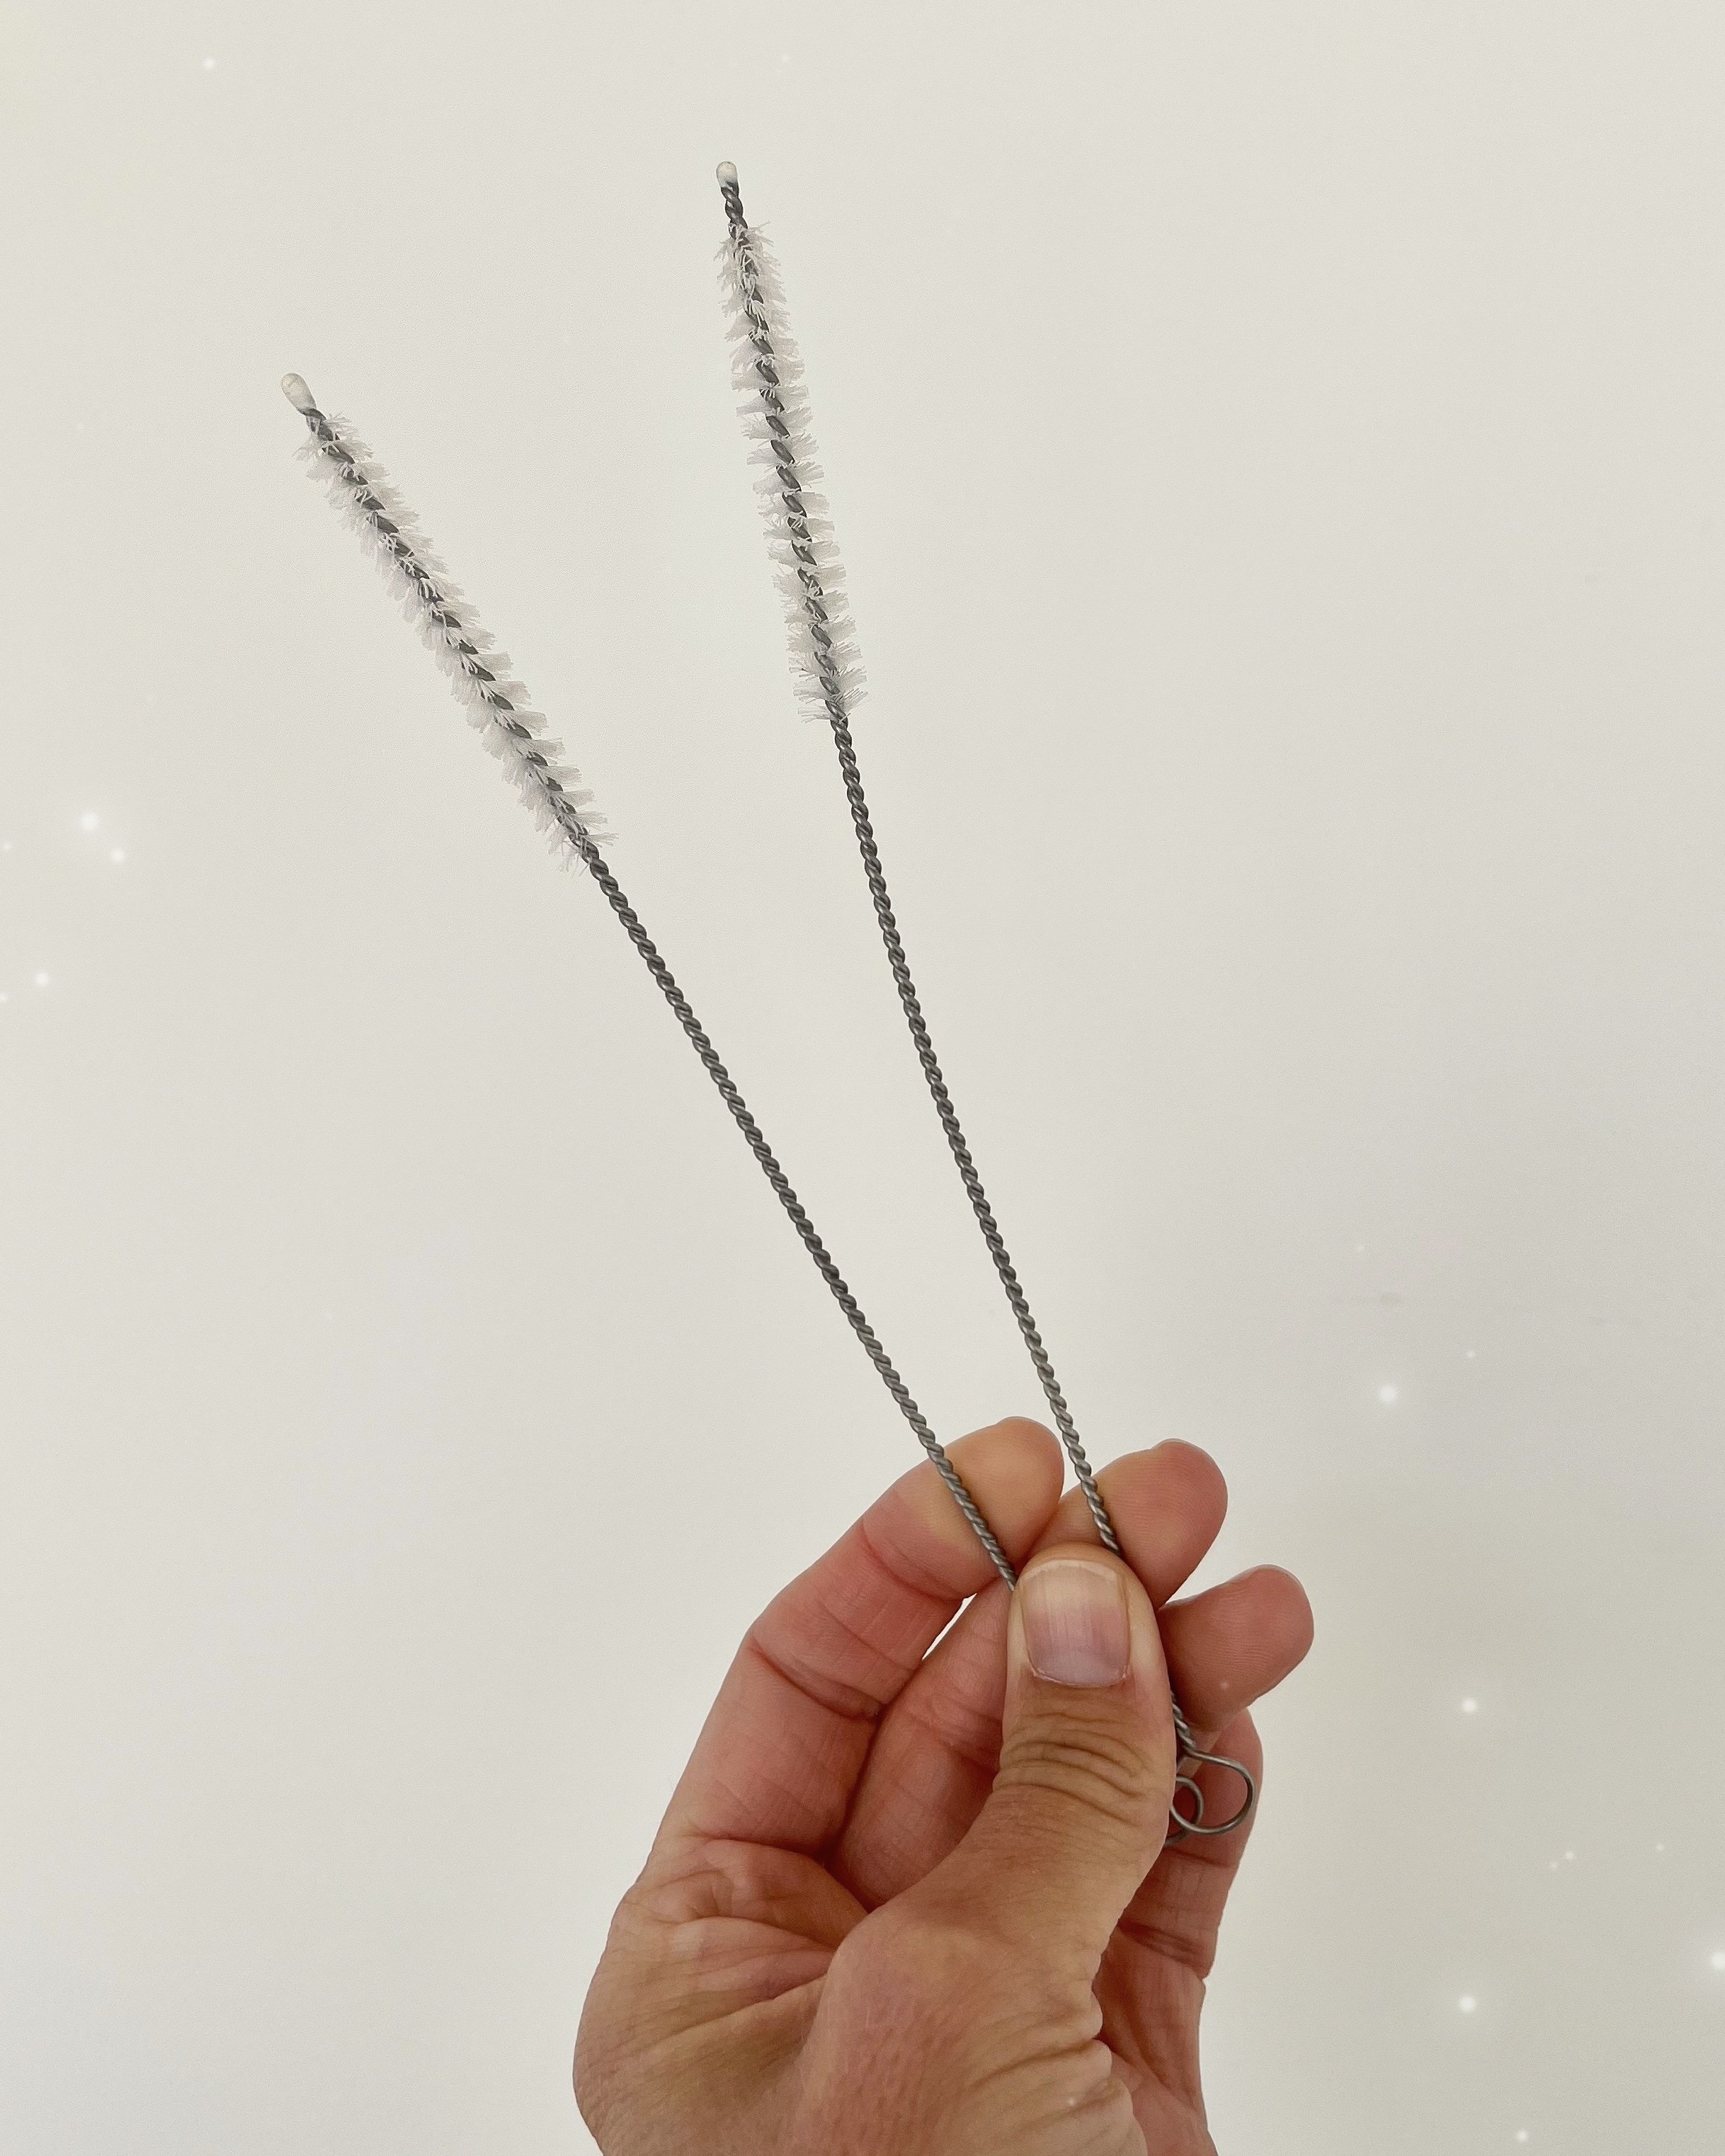
Straw Cleaner Brush
If you apply glaze to the entire spoon, you will need to clear the hole of any glaze before firing. Glaze sticks to anything it touches. If glaze is left in the hole in the spoon handle, it will stick to the wire during firing.
I use a small straw cleaner brush to remove the glaze from the spoon handle hole. DIp the brush in water, and carefully twist the brush back and forth to remove the glaze.
High Fire Wire
These are the wires I use to hang the spoons from when glaze firing. They are reusable and some I have fired 15+ times and they’re still going. They will bend and change color with use, make sure not to overload your wire with too much weight to keep them in good shape.
I hope you find this list helpful, please feel free to reach out if you have questions, and tag me on Instagram @helloceramicsstudio with your spoons.
This post contains affiliate links, I may receive a small commission of sales from the links on this page at no extra cost to you.


